How to Publish Your Library to npm Registry
Table of Contents
Hey! So, you want to publish your library to the npm registry? Nice! Publishing a library to a public registry has a lot of positives and probably 0 negatives, as long as your library doesn’t contain malicious code. The positives are as the following (this list is not exhaustive):
- You can use your library in your projects without having to copy-paste them locally.
- You build your brand (if it’s a public library) because it will be linked to your public Git repository.
- You can practice doing semantic versioning (if you plan to maintain it).
You probably don’t have to worry about having to maintain it, because you don’t have an obligation to maintain it. It’s like what they said about side projects, a lot of them are unfinished and that’s okay.
Requirements
Here is the list of things that we need before we can do so:
- Node.js® (this typically comes along with
`npm`, so we don’t have to worry about installing`npm`separately). - Git (can be CLI or UI).
- A text editor of your choice (e.g. Visual Studio Code).
- A remote Git repository in any Version Control System (VCS), such as GitHub.
- [Optional] Yarn, if you prefer to use
`yarn`instead of`npm`for managing the library and its dependencies.
For this post, I will be using Git CLI, Visual Studio Code, GitHub, and Yarn in the sections below.
Steps to publish
The following sections will contain the steps to publish your library. Let’s get started!
Log in to npm
First, if you haven’t registered yet, you need to do so at https://www.npmjs.com/signup. After that, it is recommended that you also set up two-factor authentication (2FA) in your account. To do so, click on your profile picture on the top-right, then choose “Account”. You will be redirected to your account page and you will see the “Two Factor Authentication” section on the right column, just below the “Email & Password” section.
After finishing all that, you can log in to your CLI by doing `npm login`:
$ npm loginUsername: your-usernamePassword:Email: (this IS public) your-username@gmail.comEnter one-time password from your authenticator app: 123456Logged in as your-username on https://registry.npmjs.org/.Use the details that you used when registering: username, password, and email. If you have also set up 2FA in the previous step, then you will need to also input it. If all of these details are correct, then you will be logged in to npm in your CLI.
Create the library
To publish a “library” in the npm registry, we must first define, “What is a library?” A library is as simple as an `index.js` and a `package.json`, which contains at least `name`, `version`, and `main` fields in it. Before we start, let’s create a Git repository in GitHub. After that, clone your repository to your local.
We are going to start with creating `index.js`. Let’s say we are going to publish a sum function. Note that this is only for the sake of example.
module.exports = function sum(a, b) { return a + b;};Then, for the `package.json`:
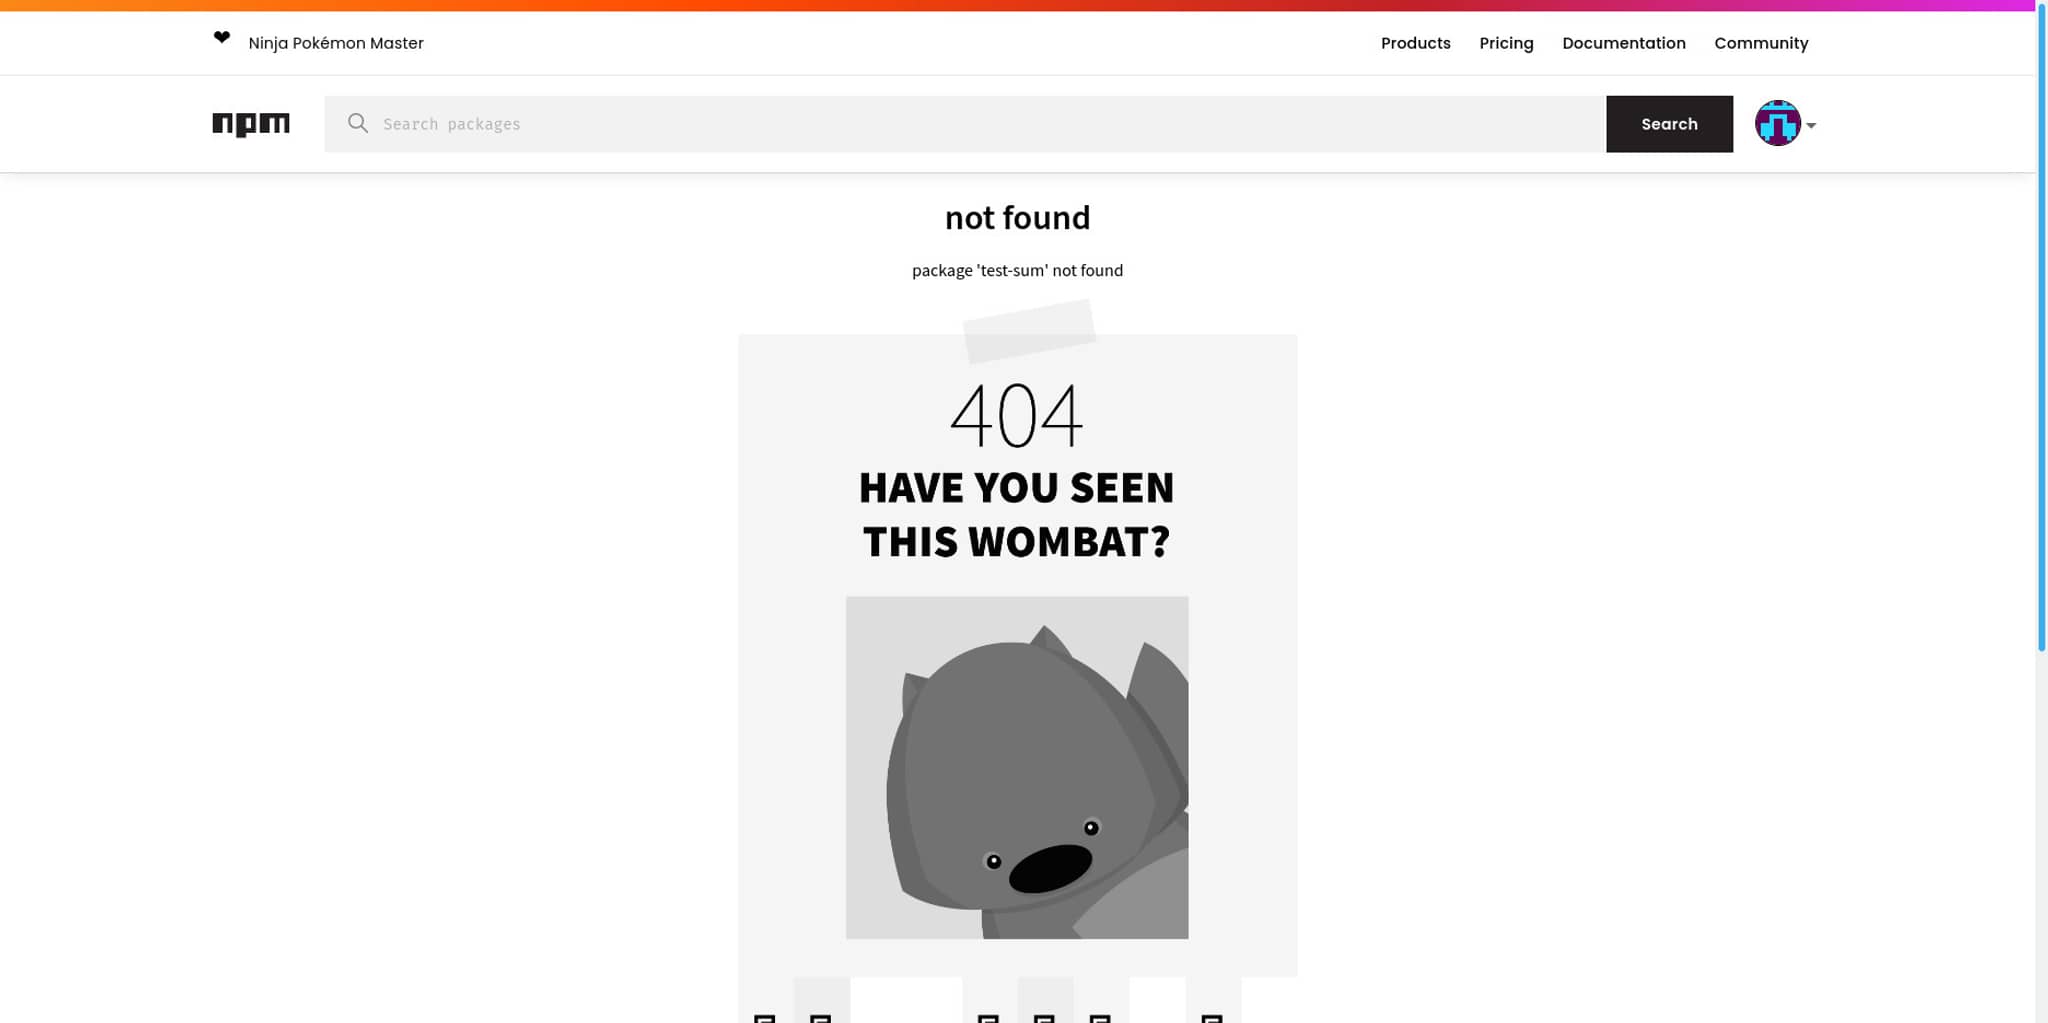
{ "name": "test-sum", "version": "0.0.1", "main": "index.js", "repository": "git@github.com:your-username/test-sum.git", "author": "Your Name <your-username@gmail.com>", "license": "MIT"}Here, you can replace the `test-sum` with any kind of name that you want. However, that name should be unique in the npm registry. To check its availability, you can search for the package name here: https://www.npmjs.com/package/test-sum. At the time of writing, it showed me this page:
As a heads up, the repository name in GitHub doesn’t have to be the same as the `name` field in `package.json`.
After the `name` field, we have the `version` field. We can start with `0.0.1` for now. When we want to revisit it later, we might want to revisit this and practice semantic versioning (will be explained in later sections).
Next, we have the `main` field. This is the entry file that the library will be using. For example, when we do this in our code:
const sum = require('test-sum');What’s happening is that we are looking at `node_modules/test-sum/package.json` and reading its `main` field. Then, it will find the entry file: `index.js`. Since our `index.js` exports a function, then the `sum` variable will contain the `sum` function from the `test-sum` library.
The next 3 fields, `repository`, `author`, and `license`, are more or less metadata. Read more about `package.json` in the npm package.json documentation. However, if you are adding the `license` field in the `package.json`, please ensure that you read the next section, too.
Add a license
A `LICENSE` file is important so that engineers who want to use your library know the limits. Quoting from “Licensing a repository” article from GitHub:
Public repositories on GitHub are often used to share open-source software. For your repository to truly be open source, you’ll need to license it so that others are free to use, change, and distribute the software.
In this guide, we are going to go with an MIT license instead. This website explains all kinds of licenses perfectly. In the case of the MIT license, it is (quoted as-is), “lets people do almost anything they want with your project, like making and distributing closed source versions”.
Publish to npm registry
Publishing your library to the npm registry is quite straightforward. All you need to do is to execute this command:
$ npm publishIf that command is successful, the next time you do `yarn add test-sum` in a project (with `package.json` inside it), it will fetch the `test-sum` library from the npm registry. There you have it, your library published!
Advanced steps
Our library has been published. What next? Well, there are more things that we can do, especially if we are actively maintaining the library.
Semantic versioning
Semantic versioning is a method to manage the versions of a “thing” (in this case, software) intuitively. The common format is `x.y.z`, where `x`, `y`, and `z` usually numbers, such as `2.11.0`. The explanation for each segment is as the following:
- The first segment
`x`is the major version. When this version is bumped, usually there are breaking changes, deprecations of certain features, and/or total restructure/rewrite of the software. - The second segment
`y`is the minor version. When this version is bumped, usually there are new features. - The third segment
`z`is the patch version. When this version is bumped, usually there are bug fixes, non-breaking refactors, documentations, and other kinds of chores.
A good example of this is Next.js upgrade guide. For each major version they published, they also prepared the migration guide for the users. This was because there may be some things that users were using in the previous major versions but were removed in the next major version, for example, the removal of Webpack 4 support in Next 12. This was a breaking change because the previously supported Webpack 4 syntaxes would not be available anymore.
Release notes
A version in software consists of multiple changesets. These “changesets” are “commits” in Git terms. When we have released a lot of versions, it may not be feasible to read through the entire Git commit history. It is for this purpose that we create “release notes” to combine the commits. Consider this case:
User: “Hey, I found this bug where the X function is not working properly when given the input Y.”
Maintainer: “Thanks for reporting! Could you tell me which version is this?”
User: “I am using the version that was released last year: 2.11.0.”
Maintainer: “Sure! I’ll look into it.”
Let’s say that there have been N commits since last year (where the maintainer doesn’t know the exact number of N), it will not be easy to pinpoint the commit that belongs to version `2.11.0`. However, with proper release notes, we can find the exact version along with the changes that came along with it. For example, in the same Next.js repository, if we want to look back to a particular version, say, `v9.3.6`, we can just visit this link: https://github.com/vercel/next.js/releases/tag/v9.3.6 and see the list of commits there. If we want to debug further, we can click the “v9.3.6” link (see screenshot below).
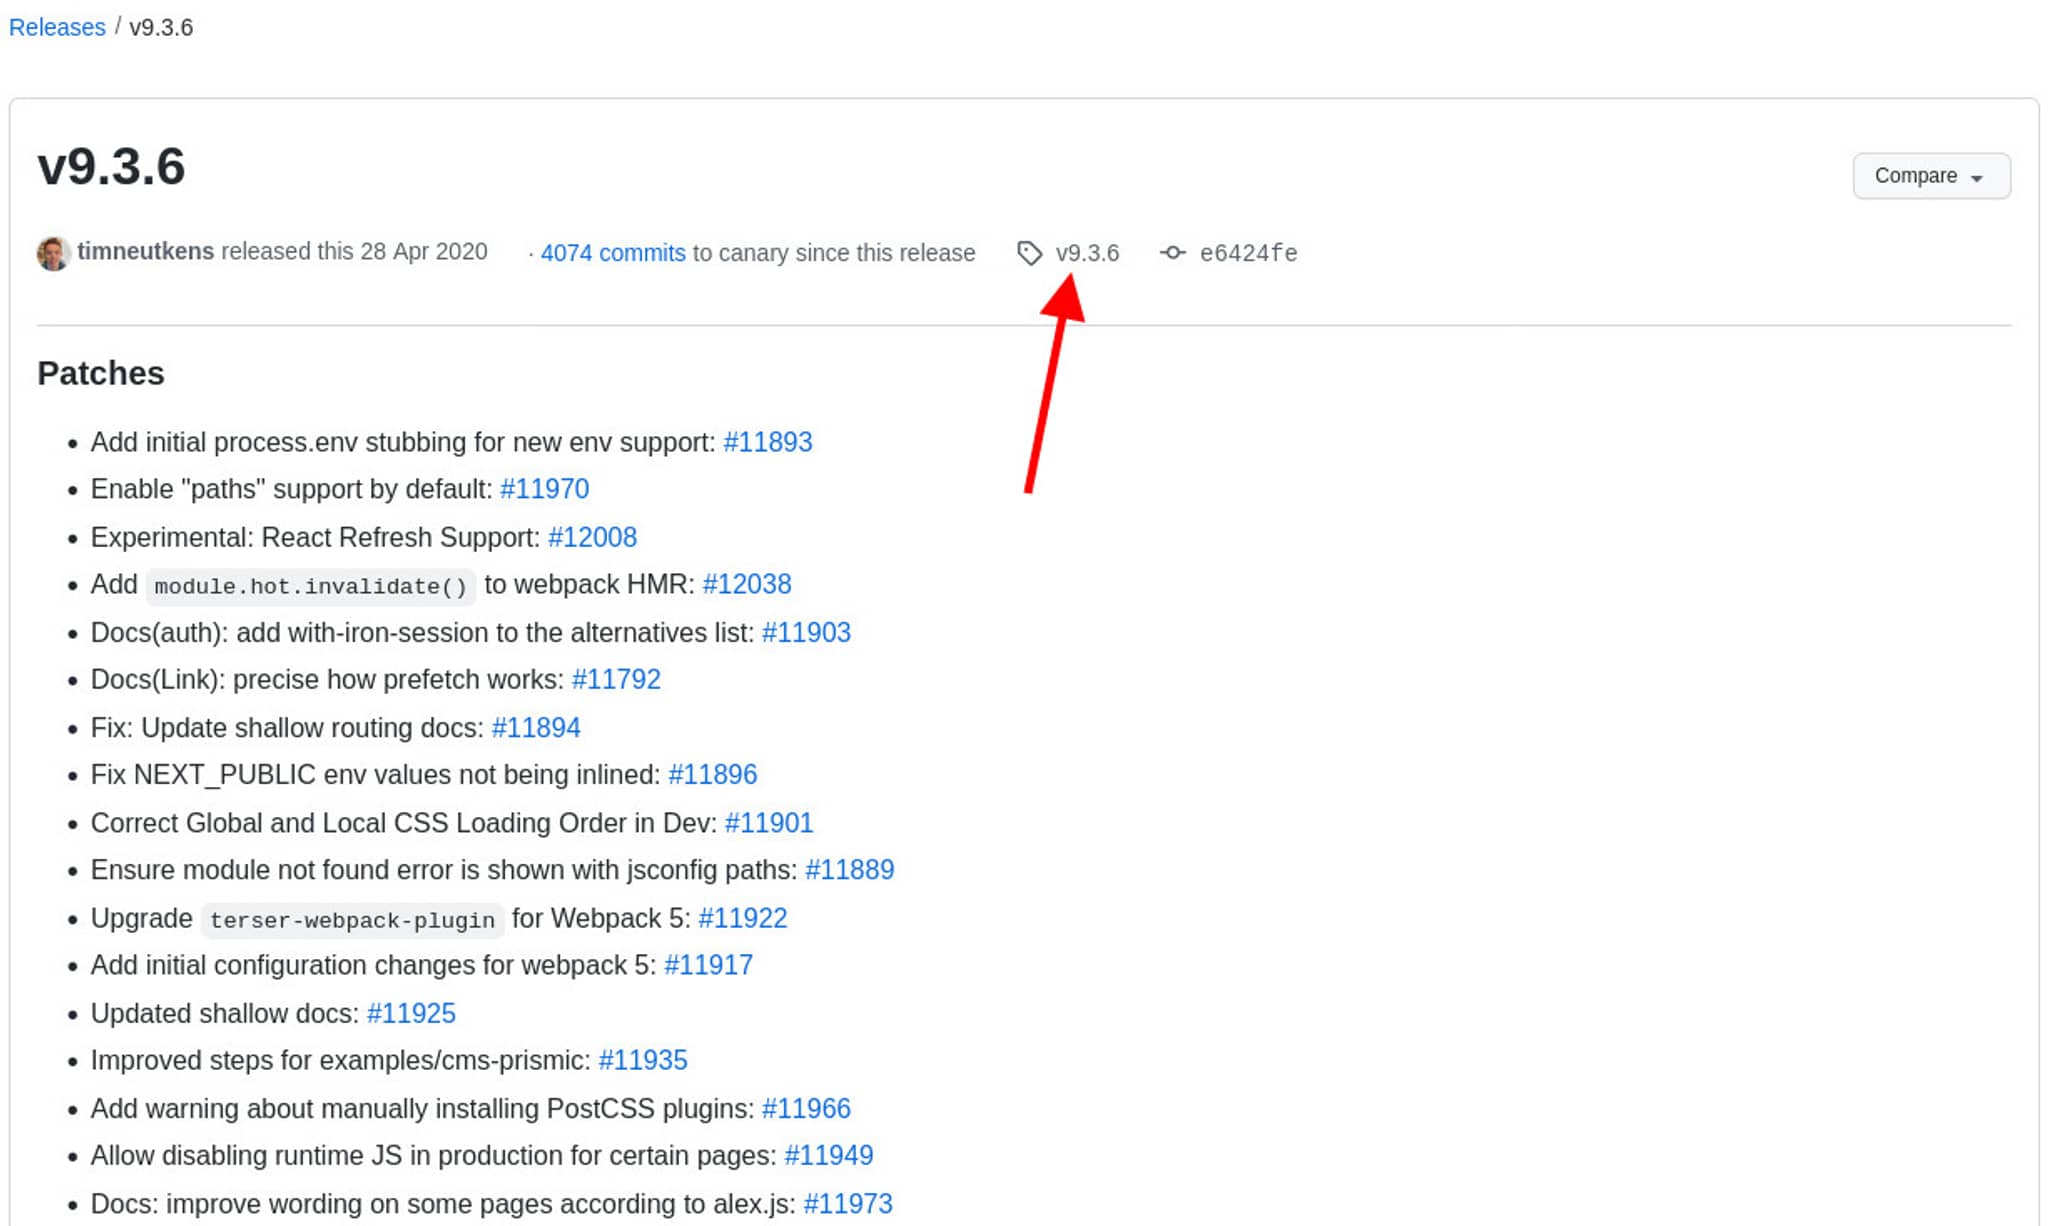
When clicked, we will be shown the repository state when that version was published.
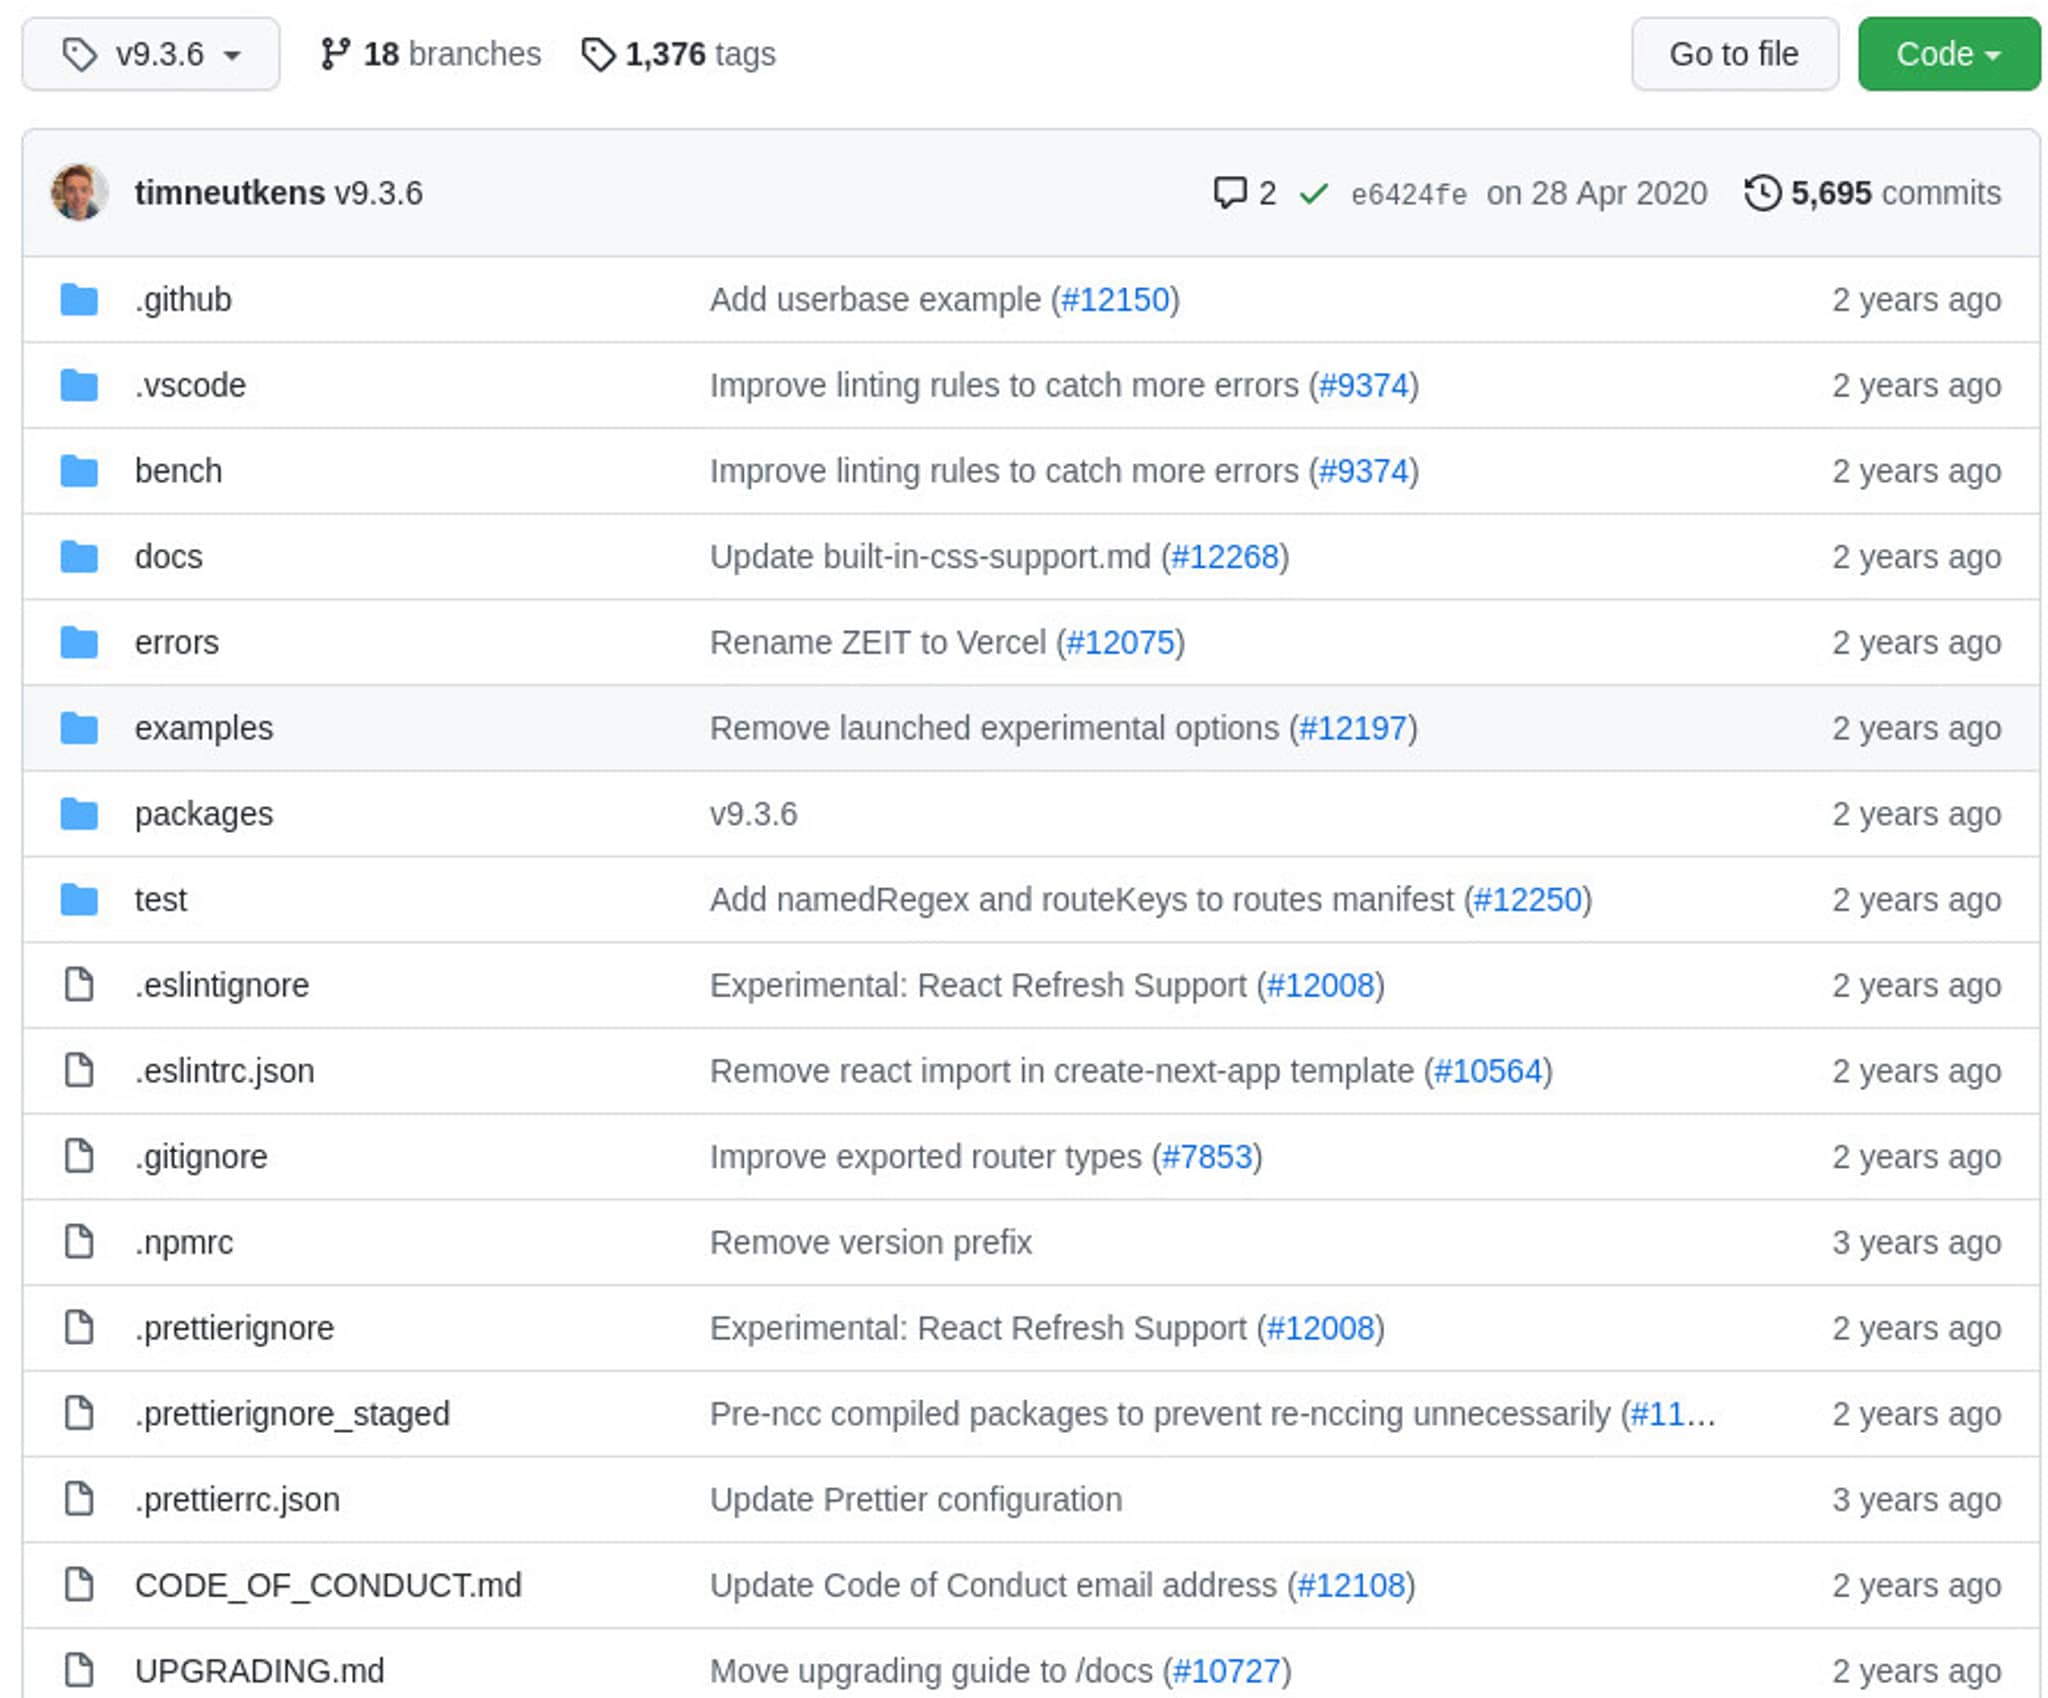
Using the same fashion, using Git CLI, we can also do the same to browse the files in version `9.3.6` locally:
$ git checkout v9.3.6Add .npmignore
By default, our library will use `.gitignore` (if present). Hence, if `node_modules` is already included in `.gitignore`, then it will not be published to the registry.
However, sometimes we want to cut down the size of the uploaded package even more. Ideally, only key files and folders should be included in the package to reduce “unpacked package size”. In case I am confusing, let’s take one of my libraries, count-up-down, as an example and see the changes to `.npmignore` file.
examples/docs/notes/
.prettierignore.prettierrc
jest.config.js
Why did I exclude all of these files? Because these files are only for development and documentation purposes. The published package only needs the entry file and files linked to it. It doesn’t need all of the development-enhancing things (such as Prettier and Jest configurations) and examples.
For further reading on `.npmignore`, you can visit “Keeping files out of your package” in npm documentation.
Do npm publish --dry-run
To check whether our `.npmignore` will result in the package that matches our expectation, we can do `npm publish --dry-run`. For example, if I execute that command in count-up-down, I will get this as an output:
npm noticenpm notice 📦npm notice === Tarball Contents ===npm notice 1.1kB LICENSEnpm notice 202B babel.config.jsnpm notice 3.7kB dist/cjs/common/calculate.jsnpm notice 3.6kB dist/esm/common/calculate.jsnpm notice 666B dist/count-up-down-node-esm.min.jsnpm notice 837B dist/count-up-down-node.min.jsnpm notice 1.5kB dist/count-up-down.min.jsnpm notice 536B dist/cjs/browser/index.jsnpm notice 274B dist/cjs/node/index.jsnpm notice 438B dist/esm/browser/index.jsnpm notice 49B dist/esm/node/index.jsnpm notice 1.7kB dist/cjs/browser/render.jsnpm notice 1.5kB dist/esm/browser/render.jsnpm notice 77B dist/cjs/common/types.jsnpm notice 11B dist/esm/common/types.jsnpm notice 1.7kB package.jsonnpm notice 388B tsconfig.build-cjs.jsonnpm notice 396B tsconfig.build-esm.jsonnpm notice 500B tsconfig.jsonnpm notice 3.0kB README.mdnpm notice 756B plugins/browserslist.tsnpm notice 346B scripts/build/node/build-esm.tsnpm notice 412B scripts/build/browser/build.tsnpm notice 342B scripts/build/node/build.tsnpm notice 575B dist/types/common/calculate.d.tsnpm notice 5.3kB src/common/__tests__/calculate.test.tsnpm notice 3.6kB src/common/calculate.tsnpm notice 197B scripts/constants.tsnpm notice 500B dist/types/browser/index.d.tsnpm notice 49B dist/types/node/index.d.tsnpm notice 76B scripts/build/index.tsnpm notice 528B src/browser/index.tsnpm notice 49B src/node/index.tsnpm notice 796B dist/types/browser/render.d.tsnpm notice 1.6kB src/browser/render.tsnpm notice 312B dist/types/common/types.d.tsnpm notice 300B src/common/types.tsnpm notice 768B scripts/ci/validate-docs.tsnpm notice 258B .github/workflows/validate-docs.ymlnpm notice === Tarball Details ===npm notice name: count-up-downnpm notice version: 0.2.0npm notice package size: 10.7 kBnpm notice unpacked size: 39.0 kBnpm notice shasum: fcf0ef5db00cedeb1ed46bd6df3739e5aa68a017npm notice integrity: sha512-QWvrS22qHyG0/[...]AnWolfiyjsOmQ==npm notice total files: 39npm notice+ count-up-down@0.2.0Notice the number of files in the package is `39`. Now, let’s verify it! I will be using this examples/node folder of the same repository. First, let’s do this command to install the dependencies:
$ yarnAfter that, we will execute this command to get the number of files in the `node_modules/count-up-down` folder:
$ find node_modules/count-up-down -type f | wc -l39Since the result is the same (39), then we can verify that whatever shows up in `npm publish --dry-run` will also exist after we install our dependencies. For further reading on `--dry-run` flag, you can visit the npm publish documentation.
Do yarn link
The `yarn link` is used to link a package locally to be used in another project. The set of commands is as the following:
# In the package folder, do this:$ yarn link# In another project (a project is a folder with `package.json`), do this:$ yarn link package-nameYou can replace `package-name` with the `name` field of the `package.json`. For example, if we do `yarn link` on the folder where the `package.json` has the name `test-sum`, then in another project, we will need to do `yarn link test-sum`. What this will do is that, it will install the linked project without changing both `package.json` and `yarn.lock`. This way, we can do a quick smoke test locally before publishing our library.
For further reading on the `yarn link` command, you can visit the yarn link documentation. The `npm` version of the command, `npm link`, also has the same behavior.
Closing words
I hope this guide is useful for you. If there are things that are not correct or need clarification, feel free to contact me through my social accounts. Thanks for reading!